From Sketch to Store Shelf: How a Plush Toy Is Designed, Made, and Launched
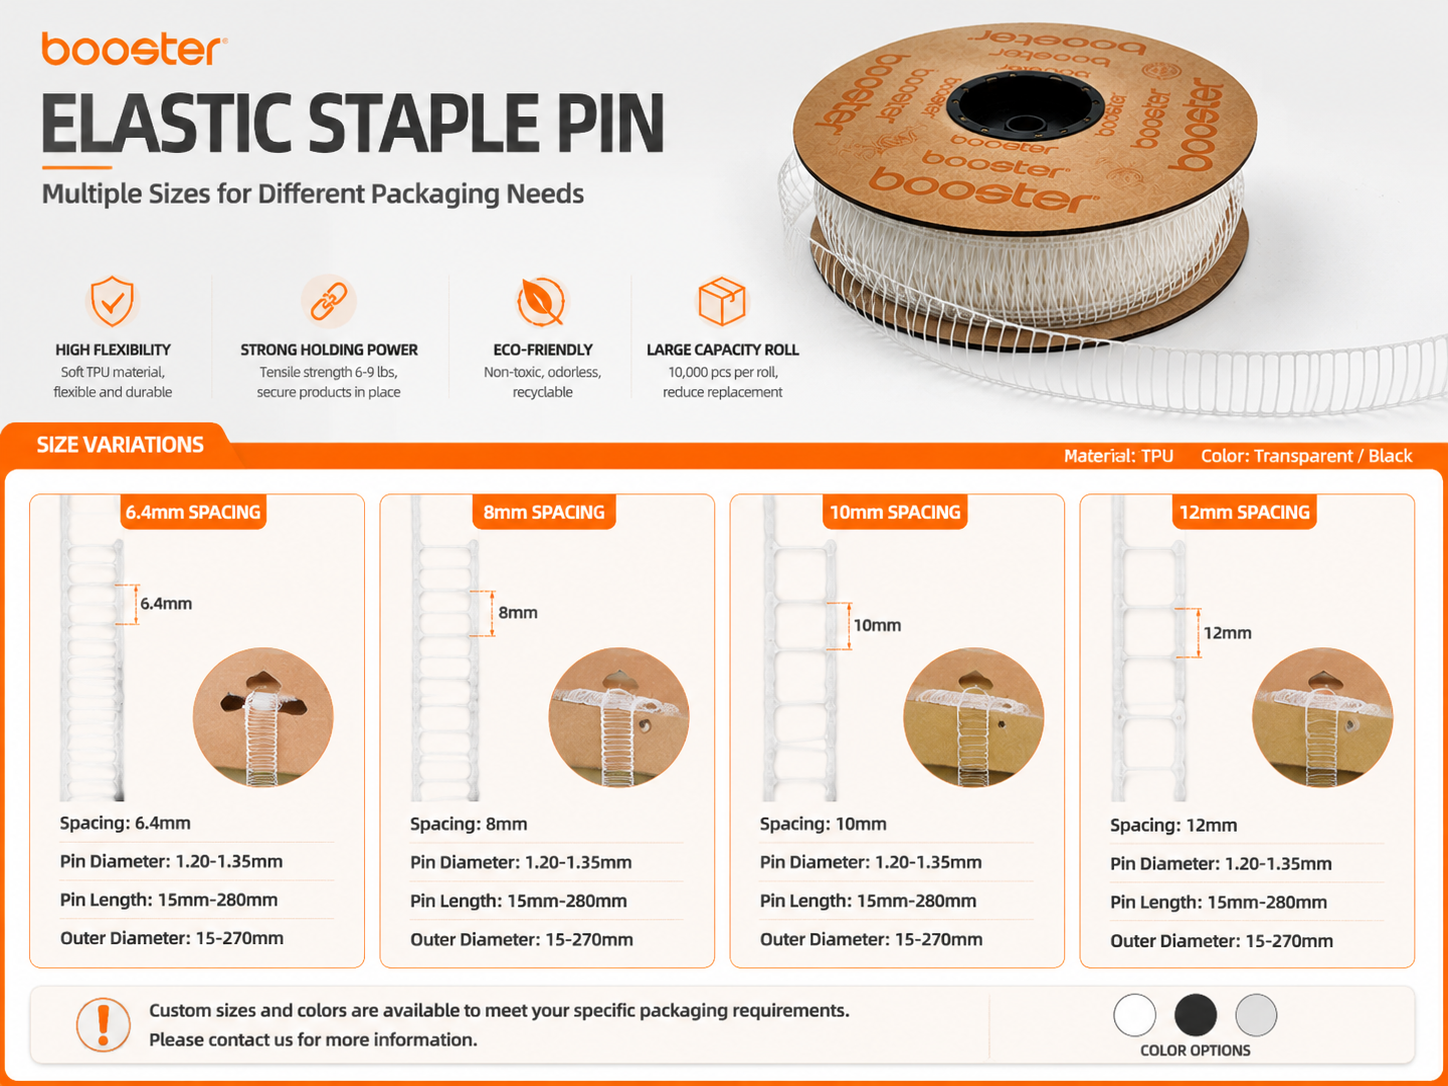
Bringing a plush toy to market is a coordinated product-development process that combines creativity, engineering, sourcing, safety, manufacturing, packaging, and sales planning. A successful project does not move directly from a drawing to mass production. It advances through controlled checkpoints, with decisions documented at every stage. Even small components, including soft tag elastic staples, must be considered as part of the complete product, because attachment methods can affect appearance, handling, retail presentation, and compliance.
1. Define the Product and the Buyer
Create a clear commercial brief
The process starts with a written brief that explains what the toy is, who it is for, where it will be sold, and what price the market can support. The brief should identify the target age group, intended retail channel, approximate size, character personality, seasonal relevance, and expected order volume. A toy designed for a museum shop may need a different story, finish, and price structure from one created for a mass-market promotion.
Establish design boundaries
Designers also need practical limits. Maximum dimensions, target weight, color restrictions, packaging format, sustainability goals, and required certifications should be agreed before illustration begins. These boundaries prevent attractive concepts from becoming too expensive or difficult to manufacture.
Build the brand story
The character name, emotional appeal, visual language, and backstory should support the brand. This material later informs packaging copy, product photography, e-commerce listings, advertising, and retailer presentations.
2. Turn the Artwork into a Physical Prototype
Develop technical drawings and patterns
Once the concept is approved, the designer or sample team converts flat artwork into sewing patterns. They define panel shapes, seam positions, embroidery areas, fabric direction, stuffing density, and dimensional tolerances. A specification sheet records colors, materials, measurements, accessories, and workmanship standards.
Produce the first sample
The first prototype tests proportion and construction rather than perfection. It may reveal that the head is too heavy, the legs do not sit correctly, the facial expression changes after stuffing, or a seam is difficult to sew consistently. The sample is reviewed from front, side, back, and top views, then compared with the approved artwork.
Refine through controlled revisions
Changes should be logged by sample version. Typical revisions include adjusting eye placement, modifying the muzzle shape, changing pile length, strengthening a narrow seam, or reducing stuffing in a joint. Clear revision records prevent old details from reappearing in later samples.
3. Select Materials and Validate Safety
Choose fabrics and filling
Material selection balances softness, durability, cost, appearance, and test performance. Common choices include short-pile plush, minky, velboa, felt, and knitted fabrics. Filling may use virgin polyester, recycled polyester, foam components, pellets, or combinations, depending on the design and age grade.
Control every attached component
Eyes, noses, labels, ribbons, accessories, fasteners, thread, and decorative pieces must be evaluated for the intended market. Embroidery is often preferred for infant products because it avoids detachable hard parts. Retail tagging systems must also be reviewed. When soft tag elastic staples are used, the factory should verify attachment position, tensile behavior, removal experience, and the risk of damaging delicate fabric.
Plan laboratory and internal testing
Requirements vary by destination market, but the development plan may include mechanical testing, seam-strength checks, pull tests, flammability evaluation, chemical testing, small-parts assessment, age labeling, and documentation review. Testing should not be treated as a final surprise; likely risks should be addressed during sampling.
4. Prepare for Repeatable Production
Create a production-ready specification
The approved sample becomes the reference standard. The factory needs a complete bill of materials, graded patterns, measurement chart, color standards, embroidery files, stitch instructions, label placement diagrams, packaging details, and an approved sample sealed for comparison.
Run a pilot or pre-production sample
Before full production, a pre-production sample confirms that bulk materials and factory methods match the approved design. For larger programs, a pilot run can expose bottlenecks, uneven stuffing, fabric shading, seam distortion, needle-control issues, or inconsistent facial placement.
Control quality during manufacturing
Inspection should occur at incoming-material, cutting, sewing, stuffing, finishing, tagging, packing, and final stages. A useful inspection plan defines critical, major, and minor defects and establishes acceptable quality limits. Metal detection, broken-needle procedures, line clearance, and traceability records are especially important for soft toys.
5. Package, Price, and Launch the Product
Design packaging for both protection and selling
Packaging must protect the toy while communicating its value. Options include open display boxes, belly bands, hang tags, recyclable bags, tissue wrap, or shelf-ready cartons. The package should include required warnings, age guidance, material information, country of origin, care instructions, barcode data, and brand messaging.
Confirm landed cost and retail economics
The financial model should include tooling, samples, testing, unit production, packaging, freight, duties, warehousing, marketplace fees, retailer margins, returns, and promotional spending. A product can be attractive and technically sound yet still fail if the final retail price does not match customer expectations.
Launch, measure, and improve
Photography, product pages, retailer sell-in materials, stock allocation, launch dates, and customer-service preparation should be completed before inventory arrives. After launch, teams should monitor sell-through, reviews, defect reports, return reasons, and repeated customer questions. These signals guide the next production order and future character development.
The next step in this series is prototype safety validation, where the design is converted into a testable, production-ready sample.
40 Related Product, Service, and Customer Keywords
plush toy concept development
character design for plush toys
custom plush toy manufacturing
plush toy prototype service
fabric sourcing for stuffed animals
child-safe plush materials
polyester fiber filling
recycled plush toy stuffing
embroidery facial features
plush toy sewing patterns
soft toy pattern grading
sample room development
plush toy safety testing
EN 71 compliance
ASTM F963 testing
CPSIA labeling
seam strength testing
pull force testing
metal detection service
needle control procedure
production line quality control
soft tag elastic staples
elastic staple fastening machine
automatic elastic stapler
toy hang tag attachment
retail barcode labeling
plush toy packaging design
sustainable toy packaging
carton drop testing
plush toy cost engineering
minimum order quantity planning
factory social compliance audit
plush toy brand owners
toy distributors
gift shop buyers
museum store buyers
theme park merchandise teams
e-commerce toy sellers
children's lifestyle retailers
promotional product agencies
READ MORE:
- How Toy Factories Automate Case Packing and Palletizing
- Inline Quality Control for High-Speed Toy Packaging
- Automating Toy Tag Fastening and Barcode Verification
- How to Balance a High-Speed Toy Packaging Line
- How Toy Factories Package Tens of Thousands of Products per Day
- How to Launch a Plush Toy and Build a Repeatable Product Line
- Plush Toy Packaging and Compliance: A Retail-Readiness Guide
- How to Scale Plush Toy Manufacturing Without Losing Quality
- How to Build a Safe Plush Toy Prototype for Production


